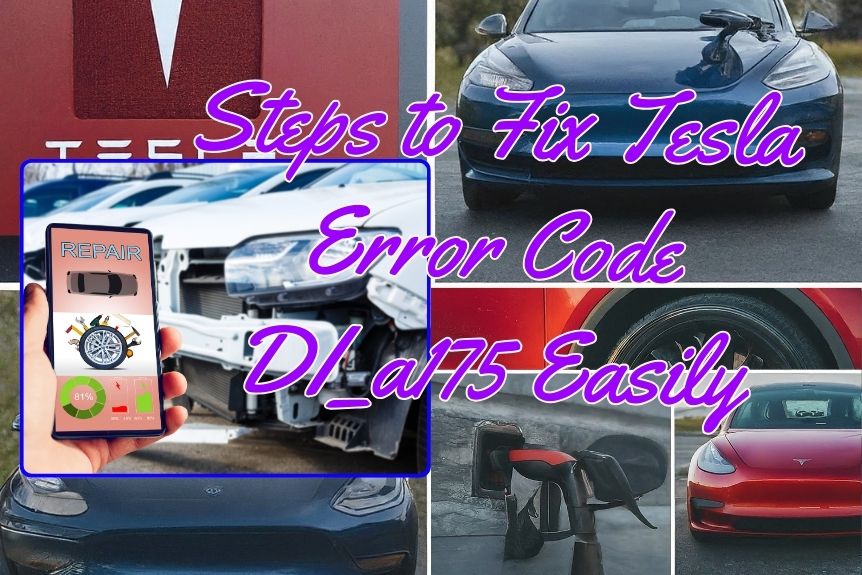
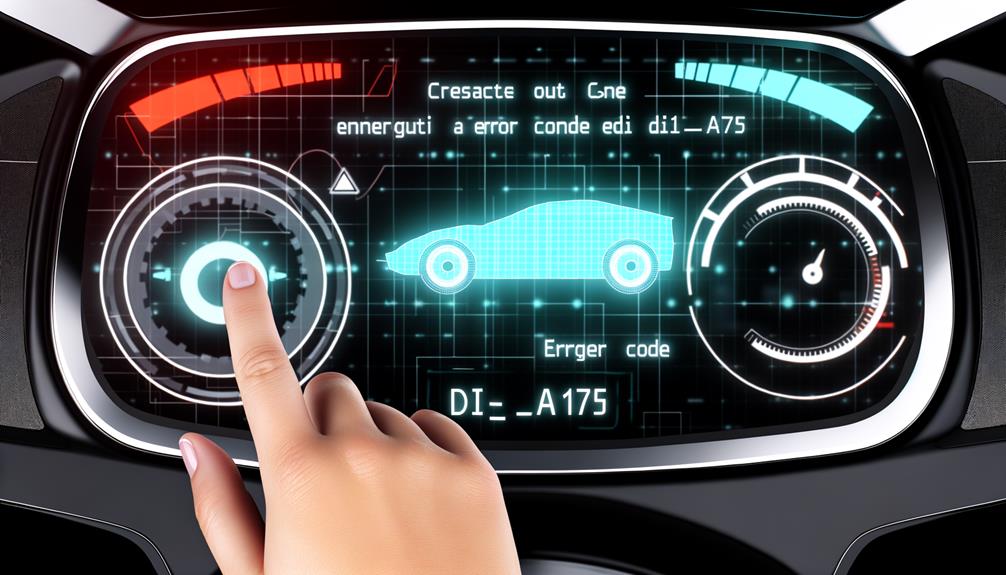
Navigating through the maze of Tesla Error Code DI_a175 can feel like untangling a web of mysteries in your vehicle’s system. But fear not, as there are 10 steps that can shed light on this issue and guide you towards a resolution.
From addressing firmware glitches to tweaking wheel configurations, each step holds a key to unlocking the solution to this complex error code puzzle.
So, are you ready to embark on this journey towards a seamlessly functioning Tesla?
Check Error Message Details
When troubleshooting the Tesla error code DI_a175, exploring the error message details is important for identifying the root cause of the issue. This error, often observed in the MODEL X, indicates a firmware problem within the vehicle. If you come across this code, you may encounter issues with cruise control and other control systems. The error message might also alert you about disabled features like regenerative braking and stability control.
To investigate the specifics of this error, you should focus on the error message details. By doing so, you can gain valuable insights into what exactly is triggering the DI_a175 error. In some cases, resolving this error may require a hard reset or a wheel configuration reset in the service section. Understanding the error message intricacies can guide you towards the right solution, potentially saving you time and effort in rectifying the problem.
Restart Your Tesla
To address the DI_a175 error code, consider restarting your Tesla by power cycling the vehicle and rebooting the touchscreen display. A simple restart can often resolve system glitches and potentially eliminate the error code.
Follow the steps for a soft or hard reset to refresh your Tesla’s systems and troubleshoot the issue efficiently.
Power Cycle Vehicle
You can easily perform a soft reset on your Tesla by holding both control wheels on the steering wheel until the screens go blank. This action helps to reboot the system and resolve minor software-related issues like the DI_a175 error code.
If the soft reset doesn’t work, you can try a hard reset by holding both control wheels and the brake pedal until the Tesla logo appears. Additionally, powering off the vehicle, disabling Sentry mode, and waiting a few minutes can be part of the power cycling process.
Accessing the service section in the main menu and performing a wheel configuration reset can force a hard reset, potentially fixing the error code DI_a175.
Reboot Touchscreen Display
For a quick fix to the Tesla error code DI_a175, initiate a reboot of the touchscreen display by simultaneously holding down the two scroll wheels on the steering wheel until the screen goes blank. This simple process triggers a soft reboot of the system.
Follow these steps to reboot your Tesla:
- Hold down both scroll wheels on the steering wheel until the touchscreen goes blank.
- Wait for the Tesla logo to appear on the screen during the reboot process.
- If the soft reboot doesn’t resolve the error, consider performing a hard reboot that involves pressing the brake pedal as well.
Update Software

Maintain your Tesla’s software remains up to date to address potential issues like error code DI_a175. Regular software updates can include bug fixes and improvements that prevent recurring errors.
To check for available software updates, you can use the Tesla mobile app or access the settings directly in your vehicle. By updating the software, you can tackle any firmware issues that might be causing the DI_a175 error.
Following Tesla’s recommended software update process is essential for troubleshooting and resolving error codes like DI_a175 efficiently. Keeping your Tesla’s software current not only helps in addressing specific errors but also guarantees that your vehicle is running smoothly with the latest features and improvements.
Make it a habit to check for updates regularly to maintain peak performance and to prevent potential issues like the DI_a175 error from occurring in the future.
Inspect Charging Cable
To guarantee your Tesla is charging properly, start by inspecting the condition of the charging cable for any visible damage or wear. Confirm the cable is securely connected to both the vehicle and the charging station to avoid any disruptions in the charging process. Additionally, take a moment to check the charging port on your Tesla for any debris or obstructions that could hinder a proper connection.
Things to do when inspecting the charging cable:
- Check for visible damage or wear on the cable.
- Confirm the cable is securely connected to both the vehicle and the charging station.
- Inspect the charging port on your Tesla for any debris or obstructions that may impede a proper connection.
Reset Charging Station
To reset the charging station, follow these steps:
- Power it off by unplugging the cable.
- Wait a few minutes for it to reset.
Afterward, restart the charging process by:
- Plugging the cable back into the station.
- Plugging the cable into your car.
Power off Station
Resetting the charging station by powering it off can effectively resolve communication issues with your Tesla vehicle, such as the DI_a175 error code. To do this:
- Disconnect: Unplug the charging cable from your vehicle.
- Power Off: Turn off the charging station by unplugging it for a few minutes.
- Reconnect: After a brief pause, plug the charging station back in and reconnect the cable to your Tesla.
This simple process can help reset the connection between the charging station and your vehicle, potentially fixing any charging notification problems or error codes like DI_a175.
Wait for Reset
If you encounter the Tesla error code DI_a175, waiting for a reset of the charging station can often effectively resolve the issue. Resetting the charging station can help refresh the connection and resolve communication errors. This step is recommended before attempting more complex troubleshooting methods for the DI_a175 error. A reset may clear any temporary glitches or communication issues causing the error. It is a simple and quick step to try before seeking further assistance for the DI_a175 error.
| Benefits of Waiting for Reset | ||
|---|---|---|
| Quick solution | Refreshes connection | Resolves communication errors |
Restart Charging Process
If you encounter persistent issues after waiting for the reset, proceed to restart the charging process to address any lingering notification problems. Here are three steps to help you reset the charging station:
- Disconnect and Reconnect: Unplug the charging cable from your vehicle and the station, then reconnect it to make sure a secure connection.
- Power Cycle: Turn off the charging station, wait for a few moments, and then turn it back on to clear any communication errors.
- Check Settings: Verify the charging settings on the Tesla app or the vehicle’s display to make sure they’re correctly configured for charging.
Following these steps can often resolve charging notification issues. If problems persist, consider reaching out to Tesla support for further assistance.
Verify Power Source
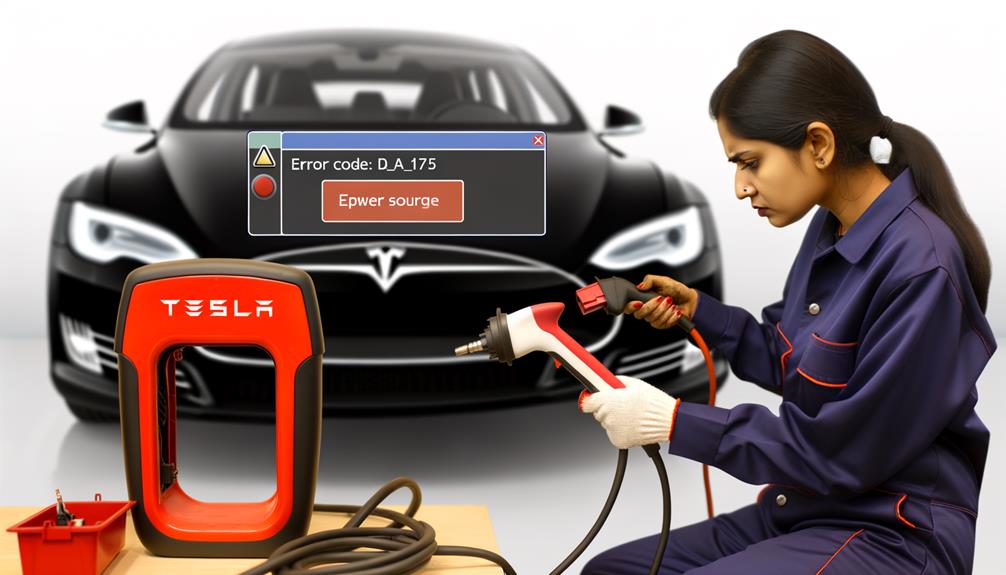
Double check that your Tesla vehicle is properly connected to a power source by verifying the charging cable connection and confirming the power supply is essential in resolving the Tesla Error Code DI_a175.
So carefully assess these connections and components before moving on to further troubleshooting steps. Make sure the charging cable is securely plugged into both the vehicle and the power outlet, ensuring a stable connection.
Take a moment to inspect the power source to guarantee it’s supplying electricity and operating as expected. Keep an eye out for any warning lights or indicators on the charging equipment that could indicate a power problem.
If you suspect an issue with the power source, attempt using an alternative power outlet or charging cable to troubleshoot and pinpoint any potential problems.
Ensuring a reliable power supply is vital in resolving the Tesla Error Code DI_a175, so carefully assess these connections and components before moving on to further troubleshooting steps.
Contact Tesla Service
When dealing with error code DI_a175, it’s essential to reach out to Tesla service promptly. They have the expertise to assist you with firmware-related issues like this one.
Contacting them guarantees you get the proper guidance for resolving the error efficiently.
Service Center Appointment
To schedule an appointment with Tesla’s service center for addressing the DI_a175 error code, reach out to Tesla’s service team promptly. When booking your service center appointment, consider the following:
- Timely Assistance: Tesla’s service centers prioritize appointments to guarantee prompt attention to your DI_a175 error.
- Expert Diagnosis: Service center technicians possess the expertise and specialized tools necessary to diagnose and resolve firmware-related issues like DI_a175.
- Specialized Attention: Service center appointments are important for tackling complex firmware problems that demand specialized care and attention.
Online Chat Support
For quick assistance in resolving the DI_a175 error code on your Tesla vehicle, reach out to Tesla’s service team through their online chat support available on the official website. By providing specific details about the error, you can receive accurate guidance from Tesla’s support agents who can diagnose the issue remotely and offer potential solutions. Use the online chat support option for immediate help in fixing the DI_a175 error on your Tesla. Here is a table highlighting the benefits of utilizing Tesla’s online chat support:
| Online Chat Support Benefits |
|---|
| Quick Assistance |
| Remote Issue Diagnosis |
| Accurate Guidance |
Check Vehicle Settings
Access the vehicle settings menu on your Tesla touchscreen to begin checking the current wheel configuration and size settings. Make sure that the settings match the actual wheels on your vehicle to prevent errors like DI_a175.
Follow these steps to verify and adjust the settings if needed:
- Navigate to Settings: Tap on the car icon at the bottom of the touchscreen, then select ‘Service & Reset,’ followed by ‘Wheel Configuration.’
- Check Wheel Configuration: Review the displayed wheel configuration to see if it matches the actual wheels installed on your Tesla. If there’s a discrepancy, make the necessary adjustments.
- Confirm Changes: After adjusting the wheel configuration, trigger a hard reset by saving the changes. This action can help reset any potential errors related to the wheel settings and may resolve the DI_a175 error code.
Perform System Reboot
After encountering the Tesla error code DI_a175, consider performing a system reboot to troubleshoot and potentially resolve the issue. To initiate a soft reset, hold both control wheels on the steering wheel until the screens go blank and the Tesla logo appears.
If the soft reset doesn’t work, attempt a hard reset by holding both control wheels and the brake pedal. For a hard reset, turn off Sentry mode and power off the vehicle for a few minutes.
If needed, access the service section in the main menu and change a wheel size or color to force a hard reset, which can effectively resolve certain Tesla error codes like DI_a175.
Rebooting the system can help clear temporary glitches or conflicts that may be causing the error, providing a quick and simple solution to get your Tesla back to normal operation.
Monitor for Recurrence
Keep a close eye on your Tesla system for any reappearance of the DI_a175 error code. After resolving the issue, it’s important to monitor the system to make sure that the error doesn’t resurface. Here’s what you can do:
- Check Control Systems: Keep an eye on the control systems and features that were previously disabled due to the error. Make sure that they continue to function properly without any hiccups.
- Observe Error Messages: Pay attention to whether the error messages reappear while driving or using specific functions in your Tesla. Note down when and how the errors occur to provide detailed information if needed.
- Evaluate Performance: Monitor any changes in the performance or functionality of your Tesla post-resolution. If you notice any anomalies or if the error code resurfaces, consider reaching out to Tesla service for further assistance promptly. Stay vigilant to catch any recurrence early and address it effectively.
Frequently Asked Questions
Conclusion
To sum up, by following these 10 steps to fix Tesla error code DI_a175, you can easily resolve any firmware issues, recalibrate the camera, and troubleshoot any malfunctioning components. Remember to check error message details, restart your Tesla, update software, and contact Tesla service if needed.
Performing a system reboot and monitoring for recurrence will make sure that your Tesla is back to its best functioning in no time.