If your video file is not showing up in the Final Cut Pro timeline, it could be due to several reasons. The file format may be incompatible, or there could be an issue with the video’s metadata. It might also be a problem with a system conflict or a setting within Final Cut Pro itself. You can try confirming the video’s format compatibility, checking visibility settings in the event browser and, if necessary, resetting the browser layout to default or re-importing the file. If you’re patient, exploring these paths might just take you to the resolution you need.
Understanding Final Cut Pro Timeline

In the realm of video editing with Final Cut Pro, grasping the timeline – where you’ll organize and fine-tune video clips, audio tracks, and other media elements – is an essential aspect of creating a polished and coherent video project. The timeline is your canvas. It’s where you’ll mold your video, manipulate your clips, and refine your audio.
Consider the timeline as a visual representation of your project’s structure. You’ll tweak the duration, position, and sequence of clips in the timeline, bringing your vision to life. Additionally, the timeline isn’t only about video; it’s also where you’ll apply effects, shifts, and audio adjustments to enhance the overall production.
Your journey begins in the event browser, where you’ll choose your media elements. Once inserted, each clip in the timeline can be adapted to suit your narrative. If you need to locate a clip, utilize the ‘reveal in browser‘ feature. This will spotlight the original file in your event browser, ensuring you never lose sight of your assets.
Mastering the timeline layout and tools in Final Cut Pro is crucial for efficient and creative video editing workflows. It’s the key to unleashing your project’s potential.
Common Video File Issues
You’ll often encounter a number of common issues with video files in Final Cut Pro, such as missing videos in your timeline due to format compatibility issues or metadata discrepancies. For instance, if your transcode media files aren’t compatible with Final Cut Pro, you may find them missing from your timeline. Additionally, if your video’s metadata doesn’t match the project’s settings, it may not appear in the timeline.
Another common issue you might face is when the video is corrupted. A corrupted video file can result from various factors such as system conflicts, faulty memory cards, or abrupt system shutdowns during the editing process. In such cases, re-importing the videos, resetting the event browser layout, or converting the files to a different format might help.
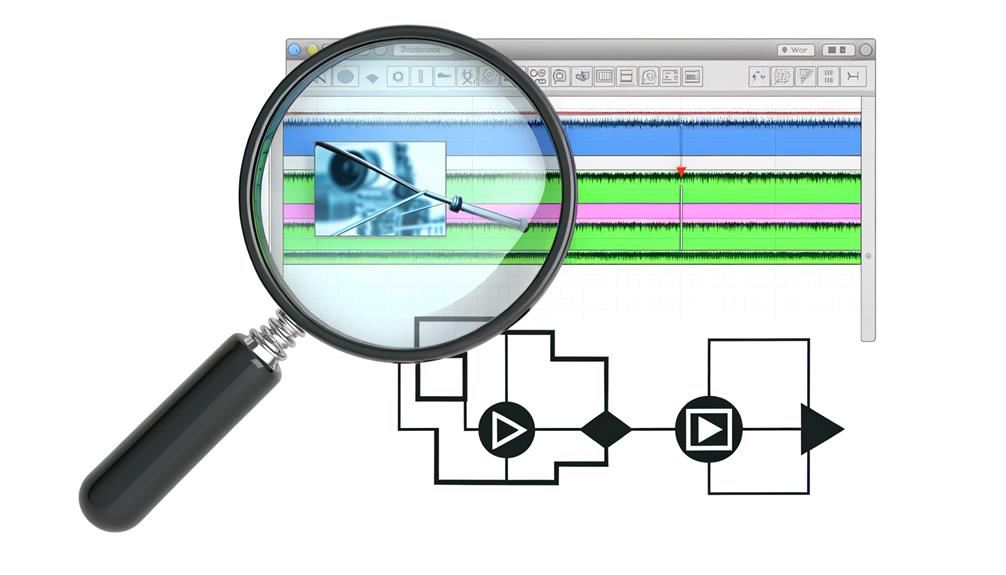
Sometimes, missing video files can also be due to cross-device editing or problems with generators/filters. Visual playback discrepancies can further contribute to this issue. To resolve these, you could try enabling automatic proxy creation, checking for system conflicts, manually relinking the files, or exporting with specific settings. Remember, each issue requires a unique troubleshooting approach, so identifying the cause beforehand is crucial.
Decoding Transcoding Process
Understanding how transcoding works within Final Cut Pro can be a game-changer, as it’s a process that converts your video files to different formats for smoother editing and playback, while ensuring they display correctly in the timeline. This conversion boosts your editing performance and safeguards the original quality for the final export.
Transcoding refines the compatibility of your video files with Final Cut Pro. It’s like a translator, helping the software understand and work with your files without a hitch. This intricate process can involve adjustments to various settings. Here are four key parameters that may be modified:
- Resolution: The video’s pixel dimensions may be scaled down for faster processing.
- Codec: The method of compressing and decompressing your video files might be changed to a format that Final Cut Pro handles more efficiently.
- Frame Rate: The number of frames displayed per second could be modified to match the project settings.
- Other Settings: Aspects like bit rate or color depth might be tweaked for efficient editing performance.
In essence, transcoding is the magic wand that transforms your video files into a version that’s primed for efficient editing, rendering, and exporting in Final Cut Pro.
Steps to Optimize Video Files
To seamlessly circumvent the issue of video files not showing in your Final Cut Pro timeline, it’s crucial to understand the process of optimizing these files. This involves employing specific techniques and adjusting certain settings within the program.
We’ll now guide you through these steps, ensuring you can enhance both the performance and quality of your video files within the Final Cut Pro environment.
Video Optimization Techniques
Let’s explore the process of enhancing video files, an essential step that involves generating proxy media in Final Cut Pro, which greatly enhances your editing performance. When a video file doesn’t appear in your timeline, it’s often due to a browser-based issue or a failure to transcode.
- Begin by importing your video file into Final Cut Pro.
- Navigate to the browser and select the clip you wish to optimize.
- Right-click and choose ‘Transcode Media.’ This process converts your video to a format that’s more compatible with Final Cut Pro.
- In the pop-up box, select ‘Create Optimized Media.’
Final Cut Pro Settings
Adjusting your Final Cut Pro settings is important for optimizing video files, enabling smoother editing, and enhancing playback performance.
To start, enable automatic proxy creation. This feature allows for efficient handling of high-resolution videos, greatly improving the editing experience.
Next, use optimized media to reduce system strain and boost editing speed.
Maintaining compatibility is also vital. Make sure your video formats are compatible with Final Cut Pro to avoid playback issues.
Finally, keep your software updated. Regular updates offer new features and enhancements that can further optimize video files.
Troubleshooting Playback Problems
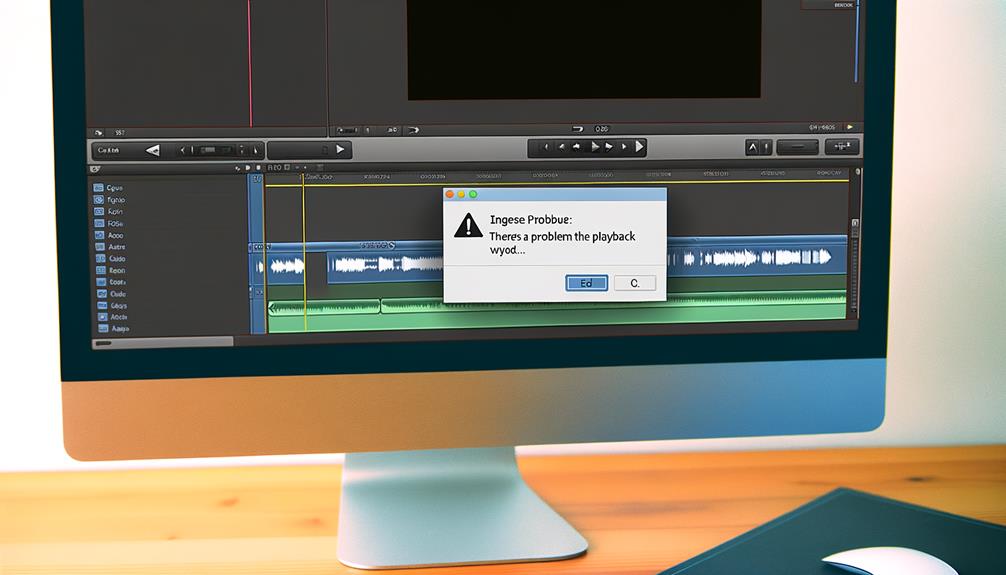
When you’re addressing playback problems in Final Cut Pro, it’s crucial you first confirm the video file’s format is compatible and can be properly imported and displayed. Troubleshooting playback issues can be a meticulous process, but necessary to guarantee smooth editing.
Let’s break it down:
- Check the file format: Make sure the type of video file you’re attempting to import is supported by Final Cut Pro. If it’s not, you may need to convert it to a compatible format.
- Verify visibility settings: In the event browser, check if your video file might be hidden. If you can’t find it, resetting your visibility settings might bring it to light.
- Reset to default: If the settings have been altered significantly, resetting the event browser layout to its default might resolve any display issues.
- Re-import the file: If you’ve confirmed the file format and visibility settings, and still can’t locate the video file in the timeline, consider re-importing it.
Enhancing Export and Rendering Performance
To enhance the export and rendering performance in Final Cut Pro, it’s vital to transcode your media to generate optimized and proxy versions. Transcoding media is not just about changing the format, it’s about creating versions of your files that are easier to work with. This process reduces processing load and minimizes playback errors, which in turn leads to a more efficient editing workflow.
Applying color correction before export can greatly improve the overall quality of your video output. Similarly, it’s important to standardize your audio to guarantee consistent sound levels throughout your video.
Remember to verify successful transcoding. If there’s an issue, address it promptly to guarantee a smooth export and rendering process.
Lastly, sharing your work and receiving feedback on the enhanced video quality can help refine your content creation strategies in Final Cut Pro.
Here’s a simple table summarizing these steps:
| Steps | Description |
|---|---|
| Transcoding Media | Create optimized and proxy versions of files |
| Applying Color Correction | Improve video output quality |
| Checking Successful Transcoding | Ensure smooth export and rendering process |
| Sharing & Receiving Feedback | Refine content creation strategies |