
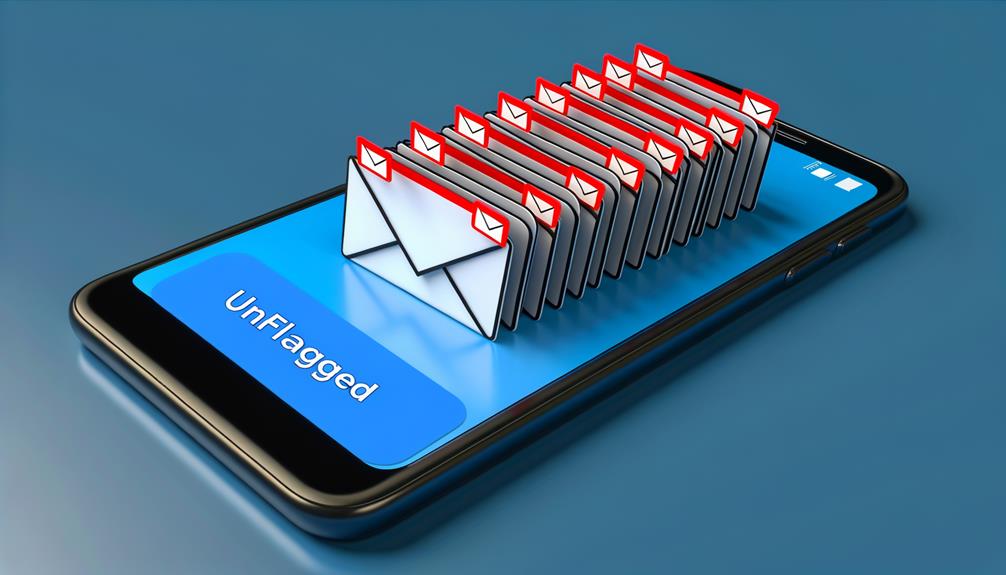
To unflag all emails on your iPhone, open your Mail app and locate the ‘Flagged’ folder within the Mailboxes section. Once you’re in this folder, tap ‘Edit’ and then click ‘Select All‘ to highlight every flagged email. To unflag, hit the ‘Mark’ option at the bottom of your screen and all your flagged emails will be unflagged simultaneously. It’s a nifty little trick, and there are even more helpful email hacks where that came from.
Opening Your Mail App
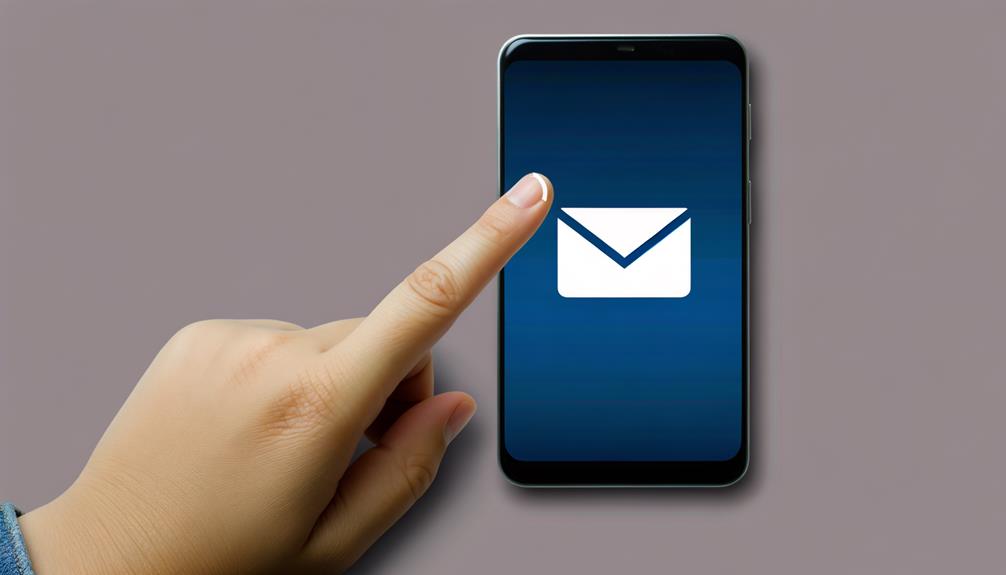
To start the process of unflagging all your emails on your iPhone, you’ll first need to tap on the Mail app icon, ensuring you’re in the correct mailbox where the flagged emails reside. While this may seem basic, it’s a critical first step that you can’t afford to overlook. The Mail app, native to your iPhone and designed to work seamlessly with iOS, is where the magic happens. It’s your command center for email management, and it’s where you’ll unflag those pesky flagged emails.
Once you’ve tapped into the Mail app, don’t rush. Take a moment to familiarize yourself with the layout, especially if you’re new to iOS or have recently updated your iPhone. Look for the Flagged folder, which is typically located within the Mailboxes section. This is where your flagged emails are neatly tucked away.
Keep in mind, to unflag your emails efficiently, you need to select the right folder. It’s easy to mix up folders when you’re in a hurry, but remember, precision is key. So, tap carefully, select the Flagged folder, and prepare to unflag all those emails that have been cluttering up your Mail app.
Locating Flagged Emails
Now that you’re in the right spot within your Mail app, let’s get down to business and find those flagged emails. Look for a folder titled ‘Flagged’. This is where your iPhone stashes all emails marked with a flag for quick reference.
In your Flagged folder, you’ll find all flagged emails distinctly marked with a flag icon next to their subject lines. This feature is particularly handy for easy identification among a barrage of other emails.
To manage your flagged emails efficiently, simply navigate to this Flagged folder from the main menu. This gives you a clear overview of all emails you previously decided needed a bit more attention.
Here’s a quick table to summarize the process:
| Steps | Action | Outcome |
|---|---|---|
| 1 | Open Mail app | Access to all your emails |
| 2 | Navigate to Flagged Folder | Access to marked emails |
| 3 | View flagged emails | Identify emails via flag icon next to subject lines |
| 4 | Manage flagged emails | Ready to unflag |
In the next section, we’ll discuss how to select all these flagged emails for unflagging. Stay tuned!
Selecting All Flagged Emails
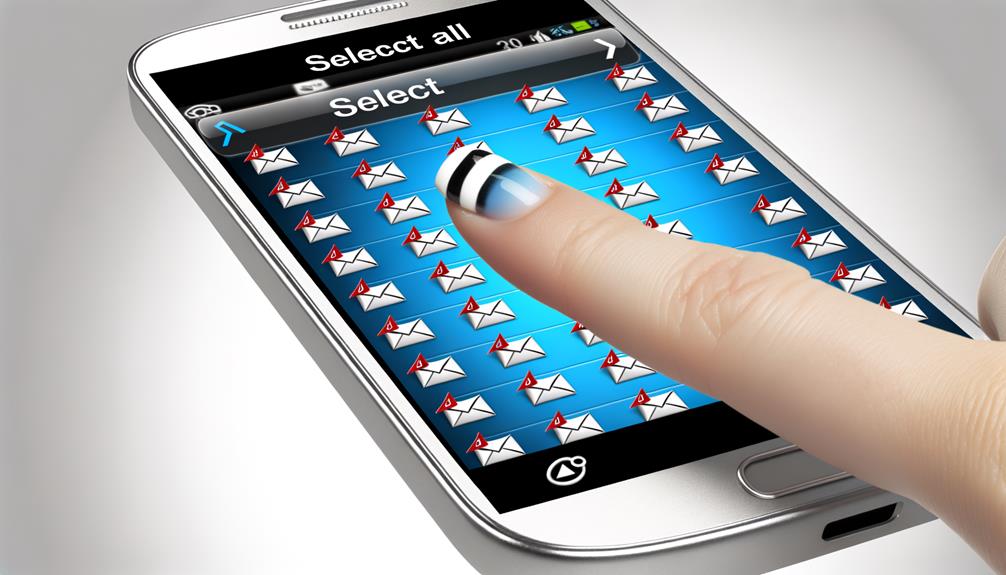
Once you’ve navigated to your Flagged folder in the Mail app on your iPhone, tap ‘Edit’ in the top right corner to reveal the ‘Select All‘ option for flagged emails. This is the first step in efficiently managing your flagged emails.
By tapping on the ‘Select All’ option, you can simultaneously highlight all flagged emails in your folder. This process of selecting all flagged emails is a time-saving feature of the iPhone’s Mail app which you can use to streamline your email management.
After selecting all the flagged emails, you’ll notice that they’re now highlighted or marked in some way, indicating that they’re ready for the unflagging process. Be aware that the ‘Select All’ function is a powerful tool, so make sure you genuinely want to unflag all emails before proceeding. It’s always smart to double-check your selection to avoid any accidental unflagging.
Using the ‘Mark’ Feature
Frequently, you’ll find the ‘Mark’ feature a handy tool in the iOS Mail app, allowing you to efficiently unflag multiple emails with just a few taps. This built-in functionality on your iPhone is a godsend when dealing with an influx of flagged items cluttering your mailbox, and quickly wanting to unflag them all in one go.
To begin, open the Mail app and select all the flagged emails you wish to manage. It’s as easy as tapping on each email you want to unflag. You’ll find the ‘Mark’ option typically located at the bottom of your screen. Simply tap on it, and you’ll be presented with the option to unflag the selected emails.
This process not only helps to manage emails but also organizes your iPhone’s Mail app, making it more user-friendly and less cluttered. The ‘Mark’ feature is a significant time-saver, allowing you to streamline your email management.
Successful Email Unflagging
While the ‘Mark’ feature simplifies email management, let’s consider how users like you have successfully overcome challenges associated with unflagging emails on various iPhone models, including the iPhone SE running iOS 13.1.3, by leveraging community solutions and resolution strategies.
Through guidance from Apple Support Communities and the shared experiences of users, you’ve been able to navigate the iOS 13.1.3 Unflagging process effectively. Regardless of device variations, the following steps have proven successful in unflagging multiple emails:
- Select All in the Inbox: Open your Inbox and tap ‘Edit’. Choose ‘Select All’.
- Move Flagged Emails: Move all flagged emails to a new folder.
- Tap Edit to Unflag: In the new folder, tap ‘Edit’, ‘Select All’, and finally ‘Mark’ to unflag.
- Return Emails: Move the emails back to the inbox or desired folder.
These resolution strategies, born from collaborative support, have helped users like you to manage your emails more efficiently. The key lies in understanding your device and the nuances of its operating system, as well as tapping into the wealth of knowledge available through community solutions.