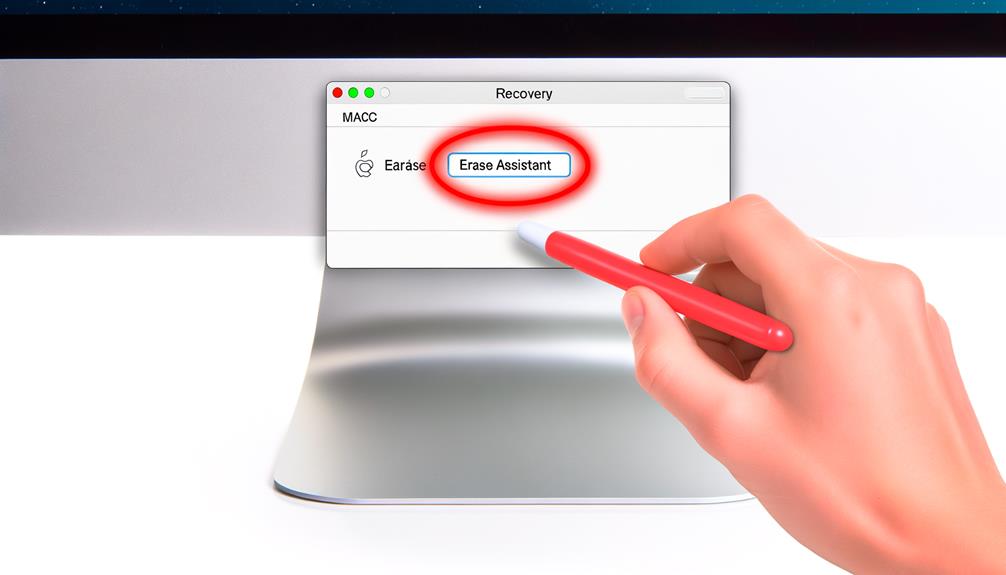
The Erase Assistant feature not being supported on your Mac is likely due to hardware limitations, as this function specifically requires an Apple Silicon or T2 Security Chip. But don’t worry! You can use the built-in Disk Utility to securely wipe your Mac’s data. Just make sure to back up anything you don’t want to lose first. A thorough exploration into the nuances of utility tools in macOS might reveal other neat tricks too!
Understanding the Erase Assistant Function

If you’re interested in maintaining your privacy and security, you’ll appreciate how the Erase Assistant function, a top-notch feature in macOS Monterey, is designed to securely reset your Mac, eradicating all user data and settings. This Assistant is basically a digital clean slate tool, operating similarly to ‘Erase All Content and Settings’ in iOS.
Now, this isn’t a feature available on all Macs. It’s specifically designed for those running macOS Monterey or later, and equipped with either Apple Silicon or the Apple T2 Security Chip. These specifications are crucial for the Assistant to perform its erasing magic.
In terms of what it does, it’s all in the name – Erase Assistant. It takes your Mac and resets it to factory settings, wiping clean any trace of user data. The purpose? To safeguard access to sensitive information like your Apple ID, bank details, and personal settings. It’s an effective way to make sure your data doesn’t fall into the wrong hands.
After using the Erase Assistant, your Mac will be devoid of personal data, thereby ensuring the next user can’t retrieve your information. It’s a feature that upholds Apple’s commitment to user privacy and security.
Common Causes of Erase Assistant Issues
Despite its usefulness, you may encounter issues with the Erase Assistant, primarily due to hardware limitations on certain Mac models. Your Mac may display the error message ‘Erase Assistant isn’t supported’, indicating that your device lacks the necessary hardware support to utilize this feature.
The Erase Assistant feature is only available on Apple Silicon Mac or machines with the T2 Security Chip. Consequently, if you’re using an Intel-based Mac that doesn’t have these chips, you’ll likely encounter this Mac error on macOS. Apple included these chips in select models to enhance security and enable features such as the ability to restore your Mac to factory settings using the Erase Assistant.
When you try to Factory Reset Mac and encounter this error, it’s an indication that your machine lacks the requisite chips. So, how can you determine if your Mac supports this? You can check the ‘About This Mac’ section in the Apple menu to see if your Mac contains the Apple Silicon or T2 Security Chip. If your device doesn’t have these, unfortunately, you won’t be able to use the Erase Assistant to wipe your content.
Alternative Steps for Mac Erasure

When Erase Assistant isn’t an option for your Mac, you can turn to reliable alternatives like Disk Utility to accomplish the same task. Disk Utility is a built-in macOS tool that can help you erase all content and factory reset your Mac, even if the Erase Assistant tool isn’t supported.
To use Disk Utility, first, make sure your Mac is in Recovery Mode. Then, go to Disk Utility and click on ‘Erase’. This action will delete all data on your Mac, so make certain you’ve backed up anything important before proceeding.
For Macs with the Apple T2 Security Chip or Apple Silicon, additional steps may be necessary. In macOS Monterey or later, the Erase Assistant not supported issue can often be resolved by following tailored instructions provided by Apple’s support document.
Restoring Files After Erasure
After erasing your Mac, you can use professional data recovery tools like EaseUS Data Recovery Wizard for Mac to restore various types of files, including documents, audio, and photos. This tool is a lifesaver, especially when you’re dealing with the Erasing Assistant error or when the Erasing Assistant isn’t supported on your Mac.
Even after a factory reset, EaseUS can provide efficient file recovery. It’s designed to work with different file systems like FAT, APFS, HFS+, exFAT, and NTFS, ensuring a broad range of data recovery after erasure. However, it’s important to remember that the key to safeguarding data is preparation.
Before you start the recovery process, make sure you create a disk backup. This step provides an extra layer of security against unwanted data loss. If something goes wrong during the recovery process, you’ll still have your backup to rely on.
Navigating Mac Recovery Mode

Understanding how to navigate Mac’s Recovery Mode can be a game-changer in resolving issues like the Erase Assistant error. It’s a secure environment that doesn’t involve booting into the main macOS, ideal for performing maintenance tasks and advanced troubleshooting.
To access Mac Recovery Mode, restart your Mac, then hold down Command + R until the Apple logo pops up. This is a universal key combo that works on all Mac models.
Once you’re in Recovery Mode, you’ll see the macOS Utilities window. Select Disk Utility, then click on Continue. This will present a list of all disks and partitions on your Mac, including your Macintosh HD.
Now, you’re ready to troubleshoot. You can use Disk Utility to repair disk errors or erase your Mac’s hard drive. If the Erase Assistant error persists, your best bet may be a complete erasure. Remember to backup your data beforehand.
