To change your home address on iPhone autofill, start by opening your settings app. From there, navigate to Safari settings and tap on Autofill. Verify the ‘Use Contact Info‘ switch is on. You’ll need to update your home address info in the Contacts app itself. Just tap on ‘Edit’ in your contact card, input your new home address, and save the changes. Now, your autofill should reflect the updated home address for any future use. There’s more to managing and troubleshooting Autofill on your iPhone, and you’ll get handy with it in no time.
Accessing Iphones Settings
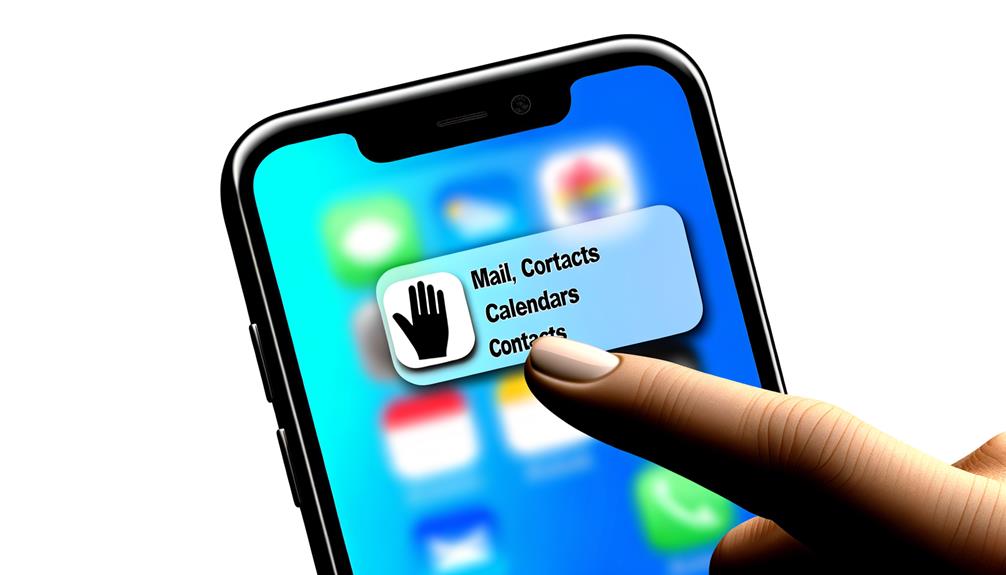
Before diving into the process, you’ll need to access your iPhone’s ‘Settings’ app, which serves as the control center for your device’s various preferences and features. This is your first step if you’re looking to change your autofill address details. To do this, you’ll need to find the app on your iPhone’s home screen, typically denoted by a gear-shaped icon. Once you’ve located it, simply tap to open.
Now, within the ‘Settings’ hub, you’re going to navigate your way to the Safari settings. Don’t worry, it’s not as intricate as it might sound. You’ll be able to adjust the autofill settings from here, specifically the ones related to addresses. But remember, you’ll need to make sure the ‘Use Contact Info‘ feature is activated. This ensures your iPhone uses accurate autofill data.
Lastly, you’re going to manually input your new home address in the designated field within the Autofill settings. It might take a moment or two, but it’s simple. Just type in your updated address information, and you’re all set. Now you’ve successfully accessed your iPhone settings and made the necessary changes to your autofill address.
Navigating to Autofill Options
Now that you’ve accessed your iPhone settings, it’s time to find the Autofill options.
Simply head over to the Safari settings, and you’ll find the Autofill section where all stored information can be managed.
Here, you can easily edit your home address to make sure accurate auto-filling in the future.
Accessing Iphone Settings
To alter your home address in iPhone’s autofill settings, you’ll first need to open the Settings app on your device. This is the gateway to all the adjustments and modifications you can make to personalize your phone.
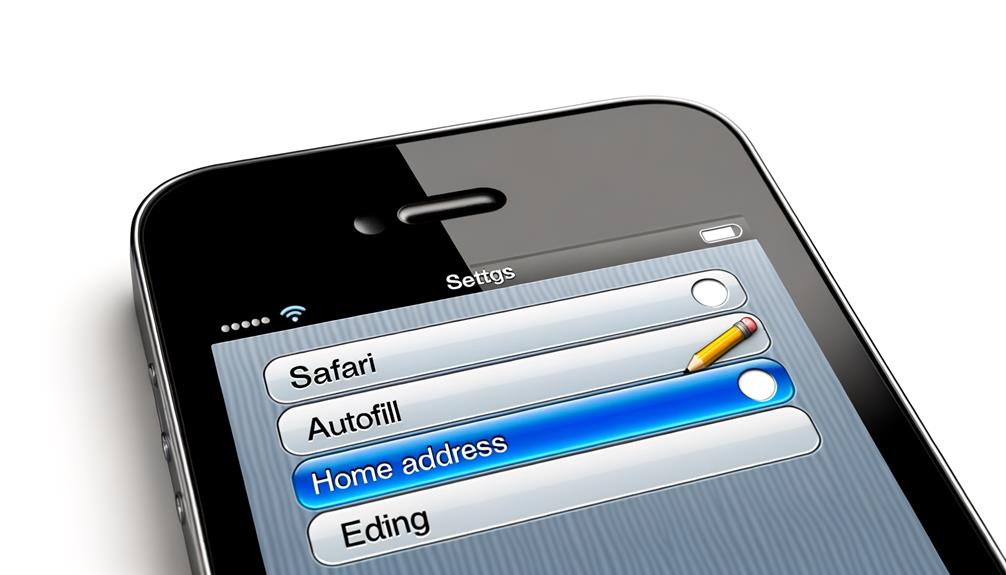
Scroll down until you find the Safari option and tap on it. Under Safari settings, locate and tap on Autofill, this is where you’ll be able to modify my home address. Make sure that the ‘Use Contact Info‘ toggle is turned on, this allows Autofill to pull information from your contacts, including addresses.
Now, enter your new home address in the field provided. Remember to save the changes before exiting, ensuring your new Address in Apple Maps and other apps is updated.
Locating Autofill Options
Once you’re in your iPhone’s Safari settings, you’ll find the Autofill option tucked away, ready for your modifications. This is where you can change your home address for autofill purposes.
Here’s a quick step-by-step guide for you:
- Open your iPhone’s Settings and navigate to Safari.
- Scroll down to find the Autofill option and tap on it.
- Make sure the ‘Use Contact Info’ switch is turned on.
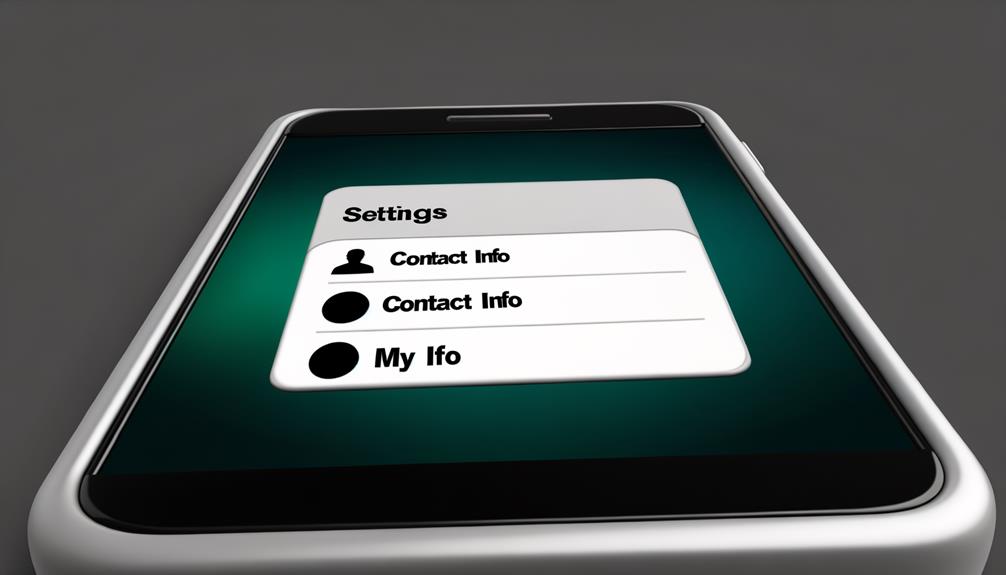
- Tap on ‘My Info’ and select your contact from the Contacts app.
This process will allow you to adjust your home address swiftly and correctly. Keep in mind, your Contacts app should have your updated address, to make certain the accurate information is used by Autofill. Now you can enjoy the convenience of autofill with your updated address.
Editing Saved Autofill Information
Diving into the process of editing your saved autofill information on your iPhone, you’ll first need to navigate to the Settings and select Safari. Now, you’re on the right track to update your home address in iPhone’s autofill data.
After selecting Safari, you’ll see General settings. Here, you need to tap on ‘Autofill’. This will provide you access to your saved autofill information. As you scroll through, you’ll find the address field. This is where you can manually change your address.
When you tap on the address field, you’ll be able to edit the existing information. Be sure to verify every detail carefully as you update your home address. Once you’ve made the necessary changes, make certain that the autofill contact info is enabled, so your device can save the changes.
Now, you have successfully updated your home address. But, how can you be sure? The only way to confirm this is to check if the new home address is correctly updated for autofill on your iPhone. So, go ahead and test it out. Trust us, it’s worth the extra minute. It’s all about guaranteeing your iPhone is as up-to-date as possible.
Adding New Address to Autofill
If you’re looking to add a new address to your iPhone’s autofill, you’ll start by updating the address in the Contacts app. You might want to add or change a location due to a move, a new workplace, or simply to keep your information current.
Here’s a step-by-step guide to help you navigate this process:
- Open the Contacts app on your iPhone and locate your contact card. Tap on ‘Edit’ to modify the details.
- Look for the ‘add address’ option and then input your new Home Address in Apple Contacts. Save the changes.
- Navigate to iPhone Settings, tap on Safari, and then on Autofill under General. Make sure the ‘Use Contact Info’ toggle is switched on.
- Here, you can manually enter your address in the field provided. You can even add your Address in Google Maps for easier navigation.
Managing Existing Autofill Data
Maintaining your iPhone’s Autofill data, a key aspect of digital housekeeping, involves regular reviews and deletions of outdated information to guarantee accuracy and ease of access. To keep up with changes, such as a new home address or updated contact details, make sure you manage your Autofill data effectively.
Firstly, you should regularly verify the details saved in Autofill. Check the home address stored in Google, as well as other locations like your associated contact card. You can access this by going to Settings, then Contacts, and finally, My Info. The Info option will display all the details saved in your contact card, including your home address.
Secondly, it’s advisable to organize your Autofill data into categories. This not only allows for easy access but also ensures the right information is autofilled in the correct fields.
Lastly, prioritize security. Use strong passwords for sensitive accounts linked to Autofill, and enable two-factor authentication for additional protection. Remember, your Autofill data contains personal information, so it’s crucial to keep it secure and up to date.
Troubleshooting Autofill Issues
Encountering issues with your iPhone’s Autofill feature? Let’s walk through some troubleshooting steps. Autofill is a handy tool on your iPhone, but like all technology, it can occasionally run into hiccups. Here are some quick fixes you can try:
- Update Your Software: Make sure your iPhone’s operating system is up-to-date. Apple frequently releases updates that fix common bugs and enhance functionality.
- Clear Cache and Cookies: Go to Safari settings, and clear your cache and cookies. This can help reset the Autofill feature.
- Restart Your Device: A simple device restart can address minor glitches affecting Autofill.
- Disable and Re-enable Autofill: If the issue persists, try turning off the Autofill feature, then switching it back on. This can often reset any issues.